

What catches your eye when you step into your home and glance around? Chances are, your interior doors might not be the first thing you notice. These portals can transform your living space in more ways than one.
Your interior doors might be something you walk through every day with little thought, but they play a significant role in your home’s overall look, feel, and function. The benefits of replacing interior doors are numerous, from aesthetics to energy efficiency.
First and foremost, new doors can instantly enhance your home’s aesthetic appeal. Whether you’re aiming for a modern, traditional, or eclectic look, the right doors can elevate the design of any room. Additionally, outdated doors can detract from your home’s overall appearance, making a door replacement a simple yet impactful upgrade.
It’s not just about looks – improved door performance and quality are also key reasons to consider a replacement. Older doors may not operate as smoothly or provide the same security and privacy as newer models. Upgrading to energy-efficient doors can help you save on utility bills by improving insulation and reducing drafts. Replacing your interior doors isn’t just about enhancing the beauty of your space. It’s also a practical investment in your home’s value, comfort, and sustainability.
DIYing a home project like this can take a lot of time and money, especially if you don’t know what you’re doing. At Builders Surplus, we help homeowners get everything they need to do the job right. If you’re replacing your interior doors, we believe that with the right help, you can finish this project and make your family proud!
Tools and supplies you’ll need:
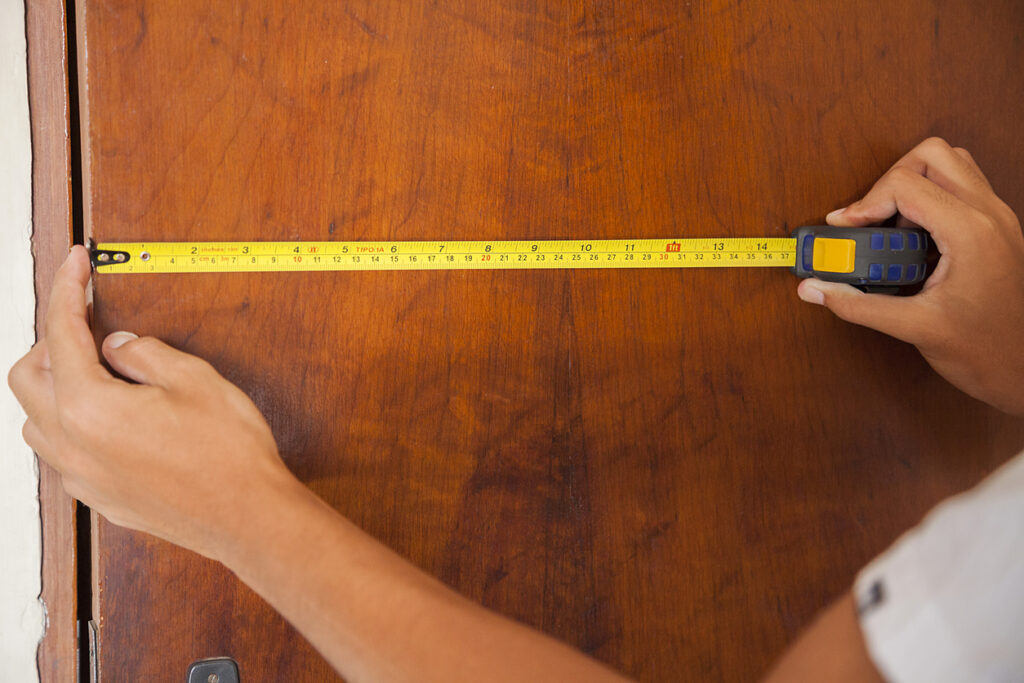
- Tape Measure: to measure the width and height of door openings
- Screwdriver: to remove fixtures from existing doors
- Hammer: to remove old door frames during installation
- Prybar: for extracting pins from hinges and removing old door frames
- Wooden Shims: to fill gaps and ensure the new door fits
- 6-foot Door Level: for alignment of the new door during installation
- Utility Knife: for trimming shims to ensure a flush fit with the wall
- 2-inch Brad Nails: to secure shims in place and attach the door frame
- Spackle: for patching the door frame after installation
- Paint or Stain: for finishing the door after installation
Here are the five steps you can take to replace your interior doors.
Step 1: Assess Your Current Doors
We recommend taking the time upfront to conduct thorough measurements and assessments. This initial step will save time and effort as the project progresses. Before investing in new doors, it’s essential to determine the width and height of the door openings. Ensure there’s a clearance of half an inch to an inch for the new frame to fit snugly. Later on, shims will be utilized to achieve a level installation. Remove the knob, plate, and latch from the existing door. If you encounter difficulty removing the latch, a gentle pull with the assistance of a screwdriver should suffice.
Step 2: Gather Materials and Tools
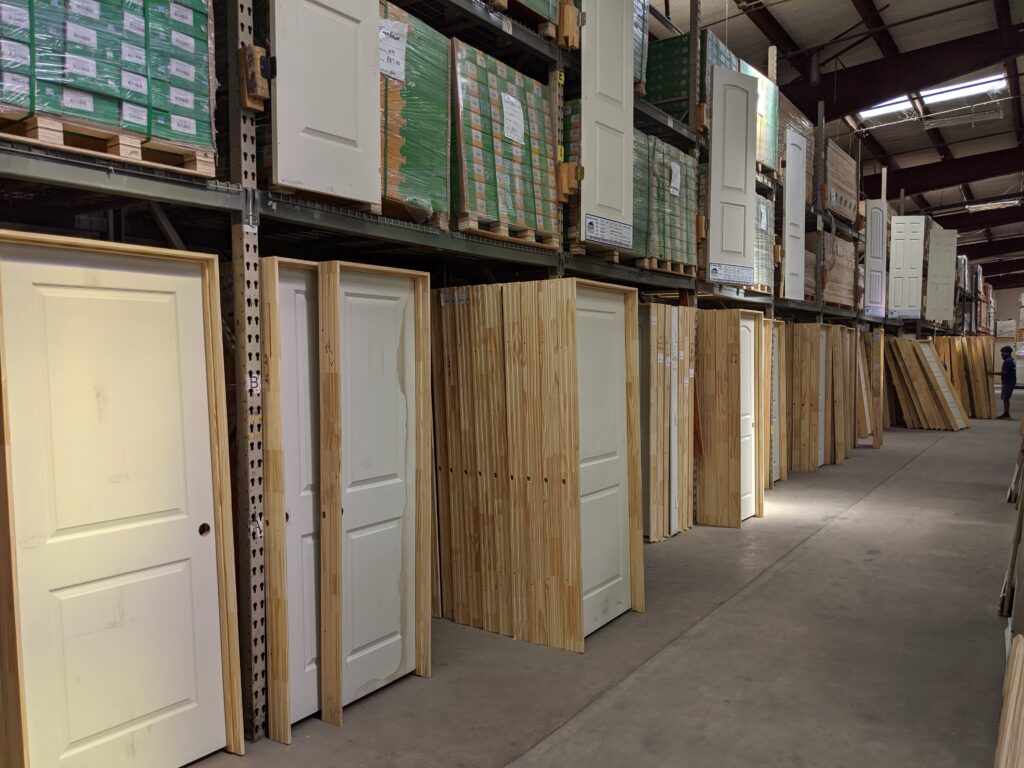
Once you’ve completed your measurements, it’s time to acquire the necessary doors for your project. At all of our stores, we have doors, sizes, and variations. Common door dimensions include 18W x 80H, 24W x 80H, 30W x 80H, 32W x 80H, 36W x 80H, 24W x 96H, 30W x 96H, 32W x 96H, and 36W x 96H. If you need help deciding which door size or style to choose, our staff is available to assist you in making the best decision. You can explore our online catalog of doors and browse through the extensive inventory available at each location.
Step 3: Prepare for Installation
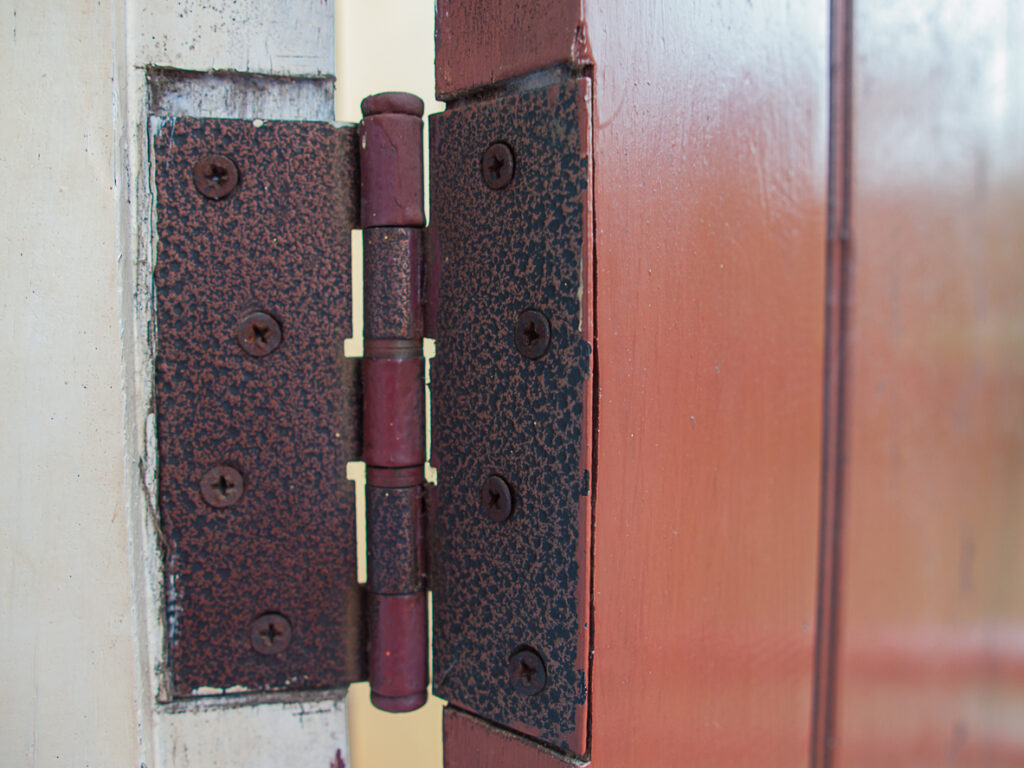
Remove the old door by removing the three pins in the door hinges. If the pins are difficult to remove, you can use a pry bar. Often, the end of a screwdriver will do. Start with the top hinge, then the bottom, and finish with the middle. At this point, it should be easy to pull the door out and set it aside.
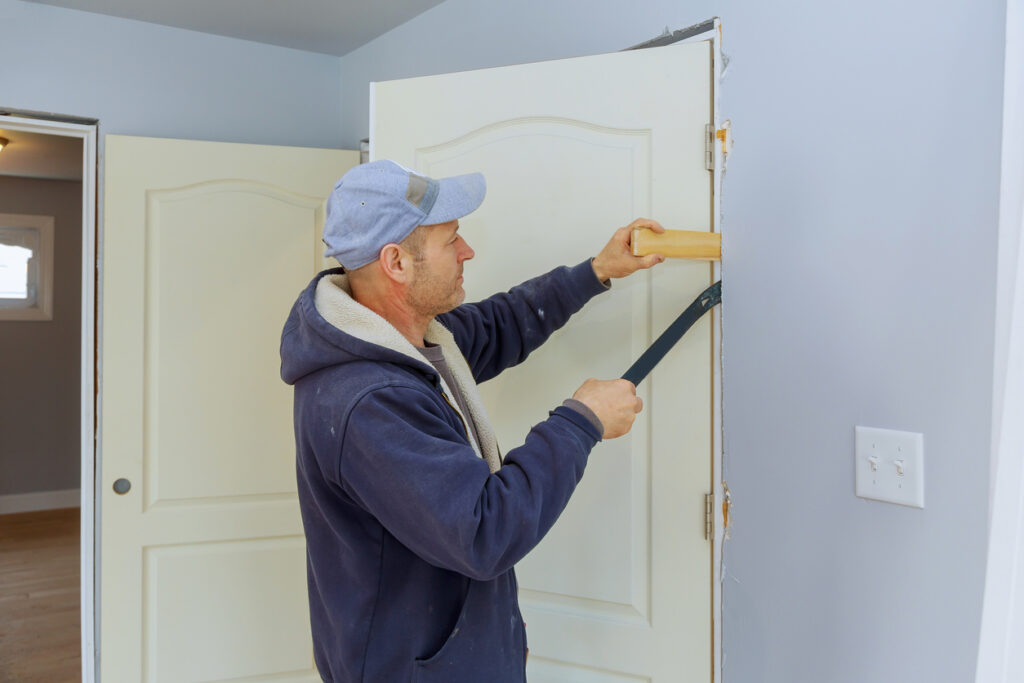
If you have purchased prehung doors, you must remove the existing frame. The prehung door will come with its frame already attached. Removing the existing frame allows the new door and frame to fit together correctly. Use a hammer and a pry bar to pull the old frame out. The trim must have been removed beforehand to get to the old frame. It will likely be tight, so take your time and be methodical. The old shims will start falling off as you pull the frame out. Be aware of the floor and existing structure – don’t do anything that will damage your property.
Step 4: Install The New Door
Bring in the new door and place it into the opening. While you can do this by yourself, having someone else support the door would be helpful so that it doesn’t fall over. Use wooden shims to fill in the gaps and make each side level. This step becomes much simpler if you only replace the door, not the frame. You’ll only need to remove the door by taking it off and reinstalling the pins on the hinges.
When you put in the door, odds are it won’t fit perfectly snug. It will take a bit of adjusting, but starting with the hinge side, use wooden shims to hold it straight to be centered. We recommend using a 6-foot door level to make sure everything aligns correctly.
Rehang the door and make any adjustments you need to ensure it fits correctly by adding additional shims. The hinges should be tight in the frame. Using a utility knife, cut off the shims to ensure they’re flush to the wall so the trim can fit comfortably.
Step 5: Make Finishing Touches
Once the sides and top are level and snug, hammer two-inch brad nails into each shim. Brad nails are thin, small-gauge nails typically used in woodworking and finishing tasks. Due to their small size, they are designed to be virtually invisible once driven into the material. This type of nail provides additional reinforcement without splitting the wood when driven into the door frame, helping to maintain the integrity of the installation and prolonging the door’s longevity.
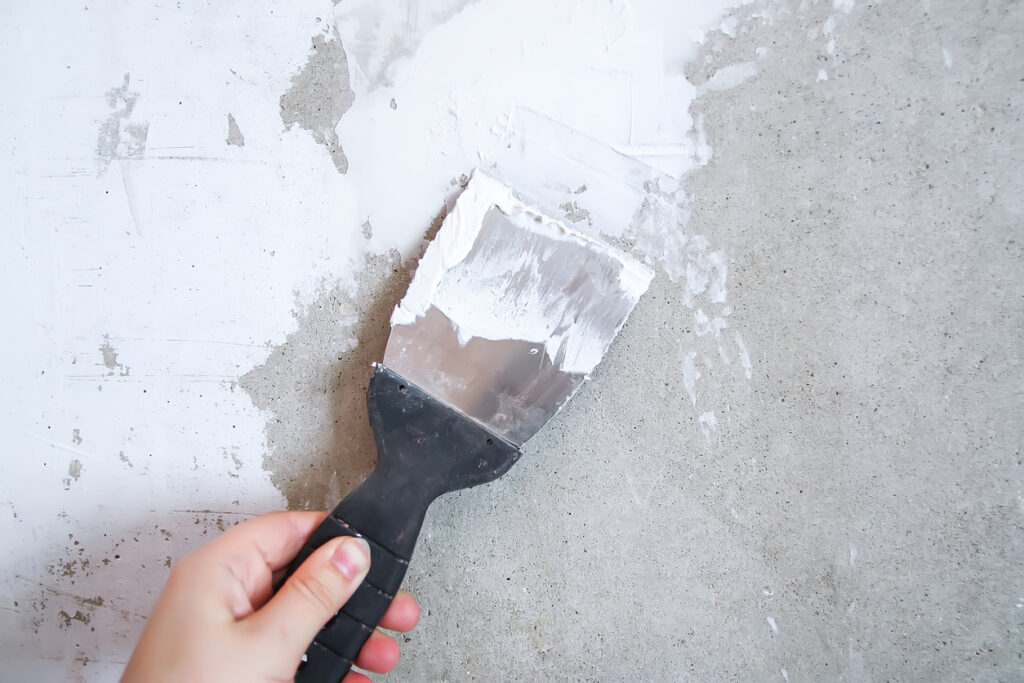
As you drive the nails on each side, double-check the levels and adjust accordingly. After you’ve nailed into the frame, you’ll need to patch the frame with spackle. Spackle is a paste used to fill holes, cracks, and imperfections. After driving nails into the frame, simple patchwork can be completed by cleaning the frame of any loose debris, using a putty knife to press the sparkle into the nail holes, and smoothing it down with fine-grit sandpaper after it has dried. Now that the door is hung, paint or stain it if it hasn’t been done already.
These are the five steps to replacing your interior doors. If this is your first time, you can expect to take two and a half hours per door. After you’ve done it a couple of times, it will go faster and faster as it is a repetitive process.
You are more than capable of installing new doors in your home! We understand that taking on a home project like this can be challenging. For the past 25 years, we’ve supplied homeowners with everything they need to get the job done right. If you have questions about installing new doors in your home, visit one of our stores. In the meantime, read our blogs for all the help you need, or call one of our stores for help.